WordPress eCommerce- an eCommerce business model and approach that came into existence with the popularity of numerous WordPress-using enterprises.
The model presents content and commerce at its finest.
WordPress, the most popular CRM platform, is often used to leverage content marketing. Unfortunately, this often keeps the users from taking full advantage of its feature.
With unmatched agility and versatility, WordPress provides more than enough features to set up an eCommerce store for ANY business. Additionally, content marketing allows you to share your brand’s story and build a community.
Furthermore, you can easily create a fully-functioning, all-in-one eCommerce shop with thousands of plugins and themes- both free and paid. But that’s not enough to run a business- not only on WordPress but anywhere.
Optimization of your WordPress eCommerce site (and strategy) is a crucial step in running a successful business in the long run.
To lay down the road to a successful WordPress eCommerce strategy, we have broken down the article into the following sections:
a. What is WordPress eCommerce strategy; why and how to use it?
- From content to conversion – How to create a funnel. (with the example).
- WordPress for eCommerce: How to install & run WooCommerce.
- How to participate in the WordPress community?
Let’s dive in.
WordPress eCommerce Strategy: Why & How to do it?
Merchants selling via WordPress are selling products with amazing stories to tell. Many brands are establishing hallmarks with these tricks to:
- Grow their own website’s community and client lifetime value rather than using marketplaces like Amazon.
- Increase ROAS – by saving money on paid ads and increasing organic reach or visibility (testing and playing with new keywords).
- Developing a solid clientele base over a longer buying cycle. This is explicitly used by B2B business owners.
- Using the latest and more successful headless commerce model to achieve a true omnichannel strategy.
The primary goal of these strategies (not limited to B2B) is to create a brand with a high customer lifetime value. This is done by providing an outstanding customer experience from awareness to retention.
And to do that:
- You’ll need a tone of content.
- You’ll need to have excellent SEO.
- Your website must load rapidly (no lag time, despite the content or images hosted, catalog size, etc.).
- Depending on the scale of your firm, your data orchestration must run flawlessly.
Furthermore, you will require a lot more than just a ‘checkout experience:
- A complete log of consumer experience.
- You’ll need to educate and address the issues of your potential clients.
- You’ll have to inspire people’s trust and foster a sense of community.
- You’ll have to make sure that the community (that you built) comes back to you (repeatedly). To learn from you, interact with you, and make purchases.
WordPress eCommerce strategy is all about the modern-day transition. A transition from the traditional transactional business model (with relatively high advertising cost) to a customer-centric one (that provides high lifetime value and lower advertising cost).
People might think that the strategy may look good only in books. But in reality, many eCommerce owners are running profitable businesses through lifestyle content and building a loyal community.
Before going any further in the strategies, first, let’s understand and build a customer value sales funnel.
Creating Customer Value Sales Funnel:
There is no static formula to scale your business. There are, no doubt, several ways to do so. And the perfect way to do so is by creating and following a content and commerce full funnel.
This above-mentioned funnel is known as the customer value sales funnel.
For this, you don’t need WordPress eCommerce but a basic understanding of the different tiers of your customers.
Top of the funnel: Awareness Stage.
Goal: To tap into the niche problems. Help, educate, and entertain new audiences with a problem-solving approach.
Middle of the funnel: Interest & Consideration Stage.
Goal: Gain visitors’ trust by providing an unrivaled website experience that keeps them on your sites and piques their curiosity to explore more.
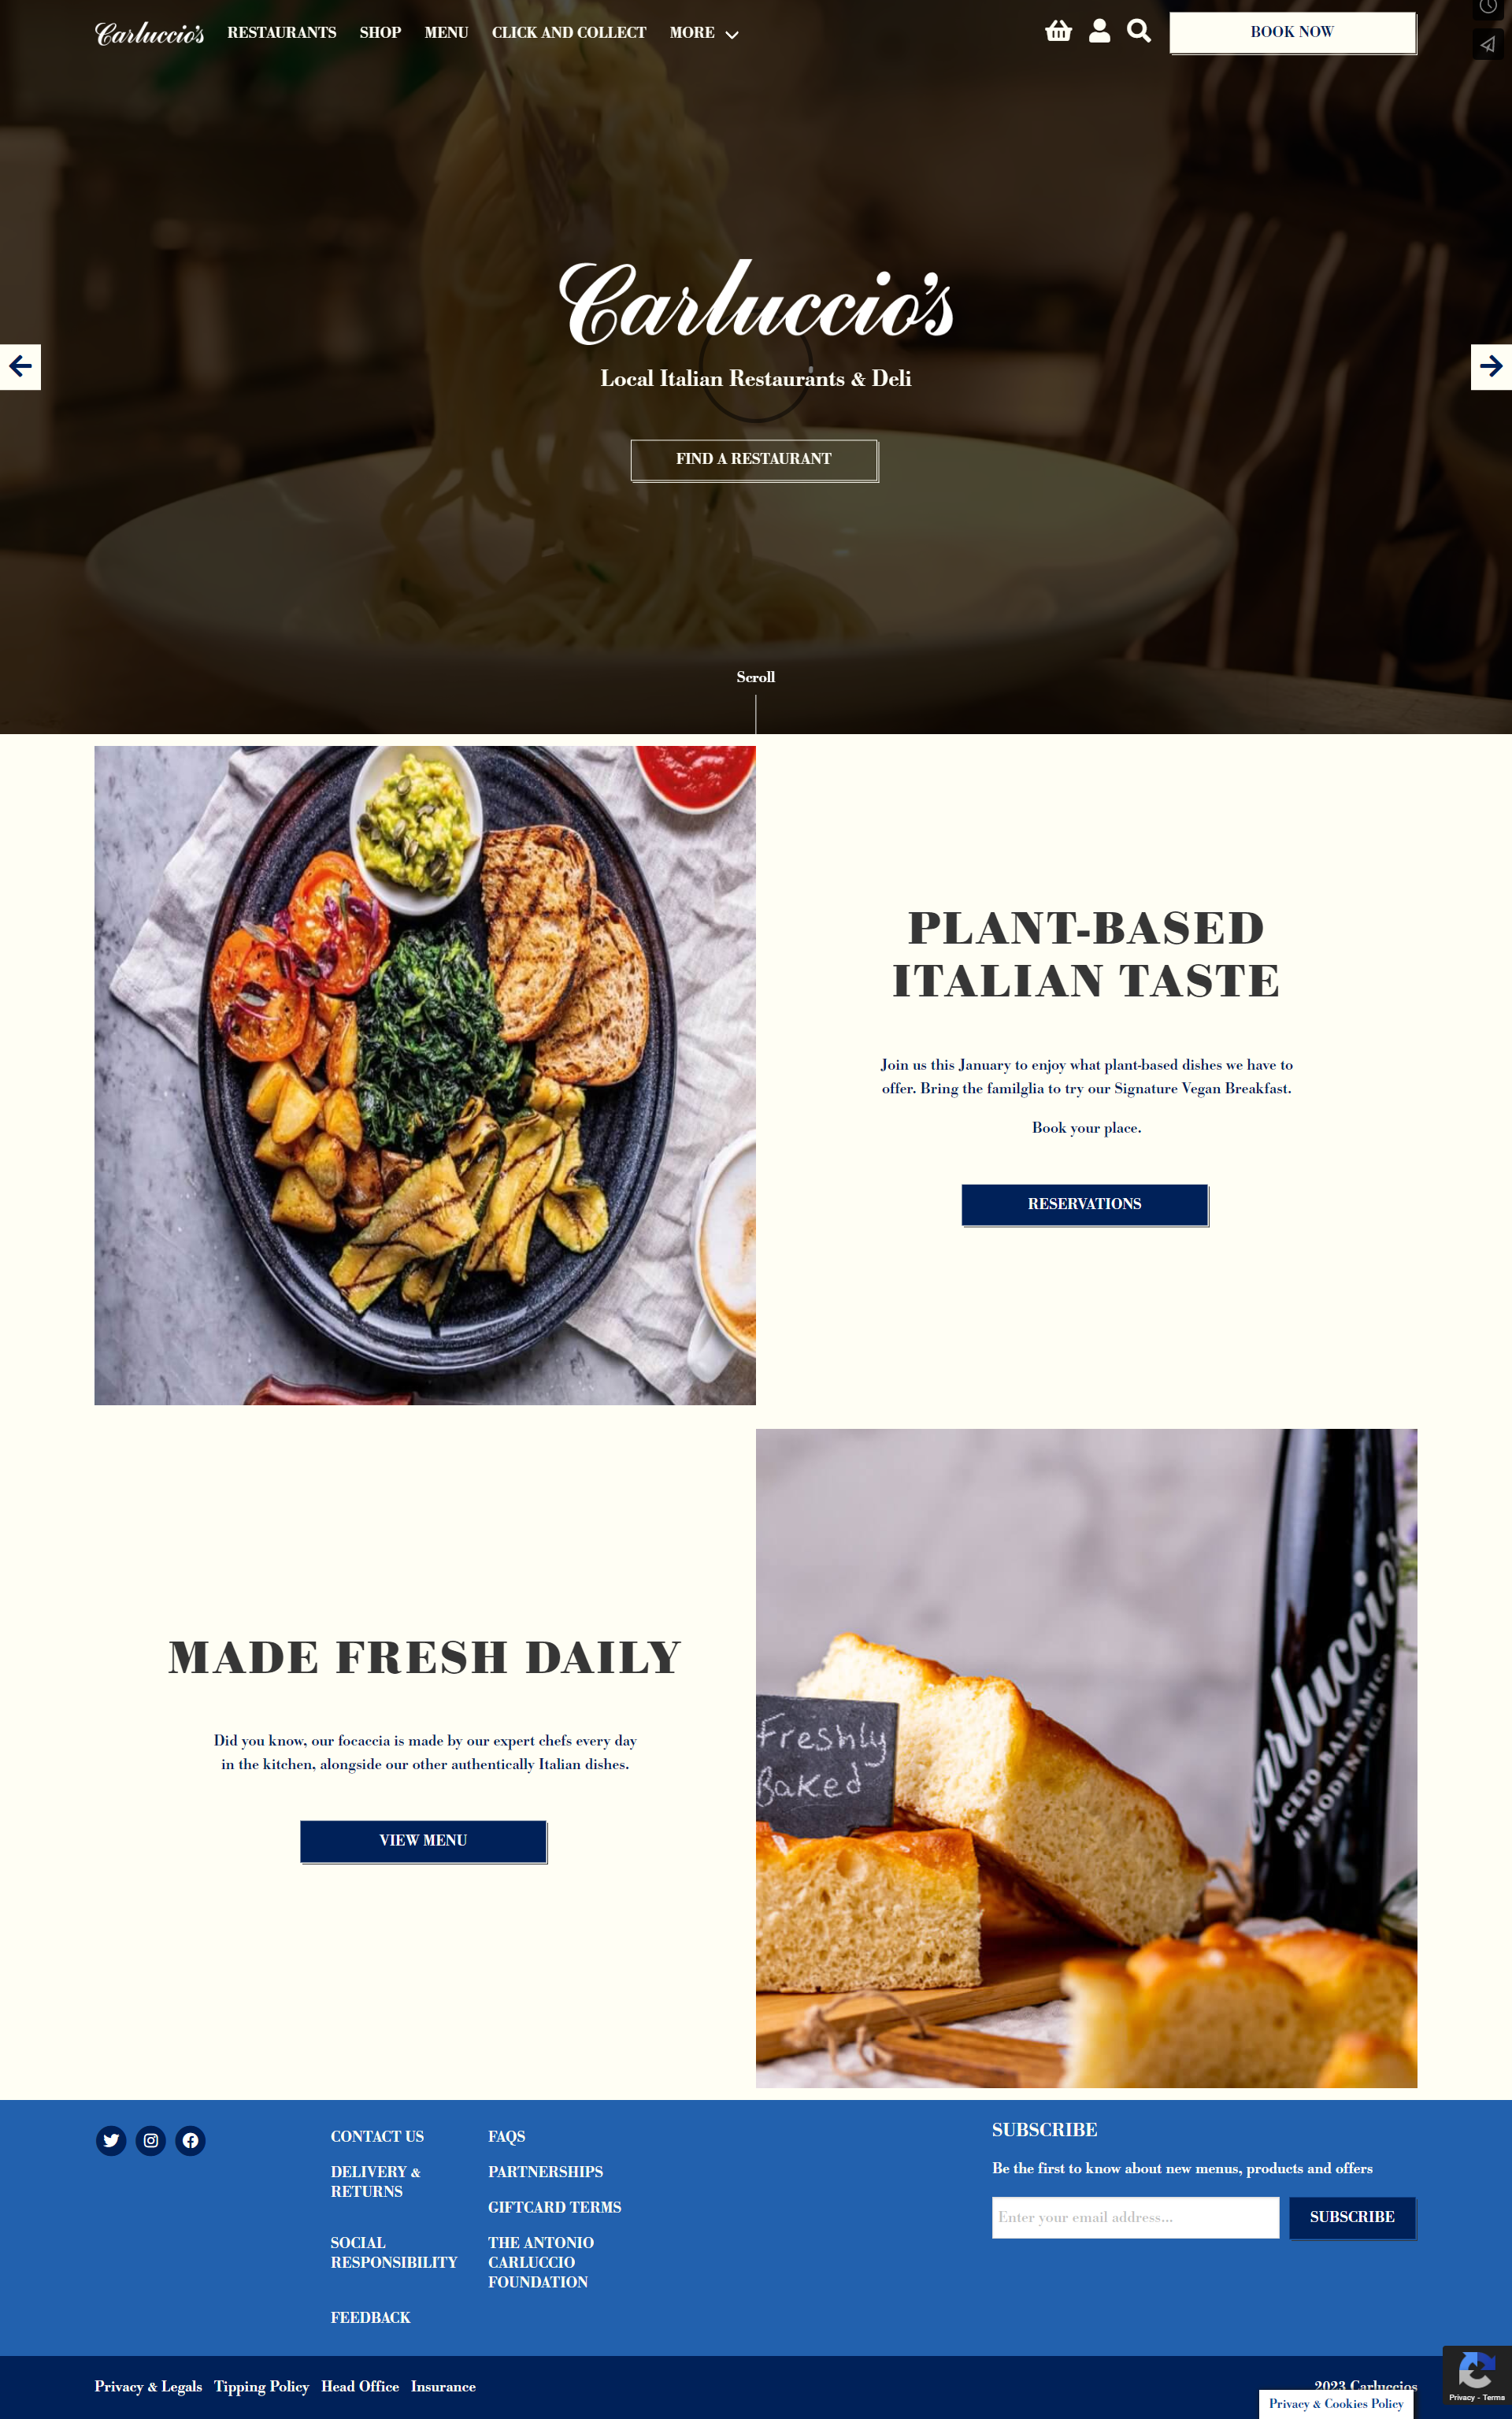
At Carluccios’s online store, you can browse for recipes or explore the nearest restaurant chain. From there, you may check the opening and closing times and immediately reserve a seat.
Carluccio’s website is the perfect example of a WordPress eCommerce website. Everything has been thought and done with incredible detail, from providing transactional space for booking and buying to touching customer pain points via content.
Bottom of the funnel: Conversion Stage.
Goal: Build a post-sale funnel experience and convert it to a sale to satisfy your new customer.
The best way to close transactions at the checkout is a simple, one-page checkout with the choice to be a guest or login, extremely clear pricing, and shipping information.
Be upfront about total costs and make it easy for the shopper to insert information (use digital wallets even!). Don’t forget to ensure PCI compliance and fraud protection.
That there is your so-called ‘customer value sales funnel.’
Moving on to the next section, let’s now learn about WooCommerce.
Wondering which will suit your venture? WordPrees.com or WordPress.org? Read all about it here.
WordPress for eCommerce: WooCommerce.
Before the customer-type content, or before 2010, eCommerce with WordPress was not viable. Many people tried to add their products with a theme. On the other hand, if the site owner changed the theme, he/she would lose all the products.
No payment gateway integrations were there for flexible transactions. Most people were relying on the restricted Pay Now buttons from Paypal.
One exception was the WP-eCommerce plugin, which handled the selling and connection of the payment process of the shopper’s choice. The plugin is still live.
From 2010 onwards, and with version 3.0, came the custom content types. And with the custom content types came the meta-data types. These data types would include different sets of information such as year, make and model for any vehicle content type. This gave birth to product content type with metadata like price, weight, size, color, etc.
From 2010 to 2011, many business owners tried eCommerce in WordPress with little success.
2011 and introduction of WooCommerce.
WooCommerce, an open-source eCommerce plugin, was introduced in 2011. It serves as a platform for both little and big web companies. WooCommerce offers various capabilities, including various shipping and payment options, flexible items, and more.
Installing WooCommerce.
WooCommerce, a free WordPress plugin, can be downloaded from the official WordPress plugins directory.
Follow these steps to install the plugin:
- From the left-side menu of your WordPress dashboard, choose Plugins.
- In the search field, click Add New and type WooCommerce.
- From the search results, select WooCommerce, then select Install Now.
- Click the Activate button when the installation is done.
Setting the WooCommerce plugin.
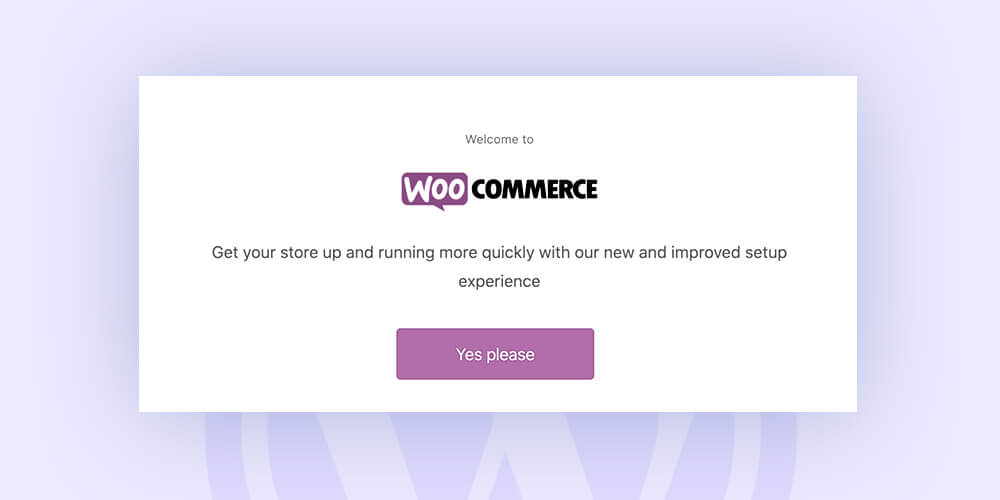
A WooCommerce welcome message will then appear, requesting that you launch the Setup Wizard. For the WooCommerce store setup, click the purple Yes, please button.
Or, run the wizard- WooCommerce->Help->Setup Wizard section.
Follow these steps to set up the plugin:
- Enter the Store Details (with country, address & zip code).
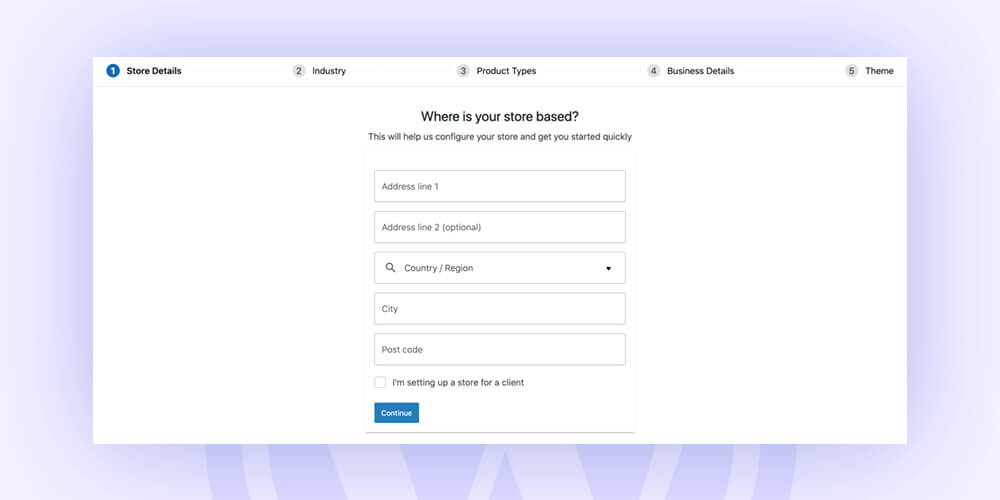
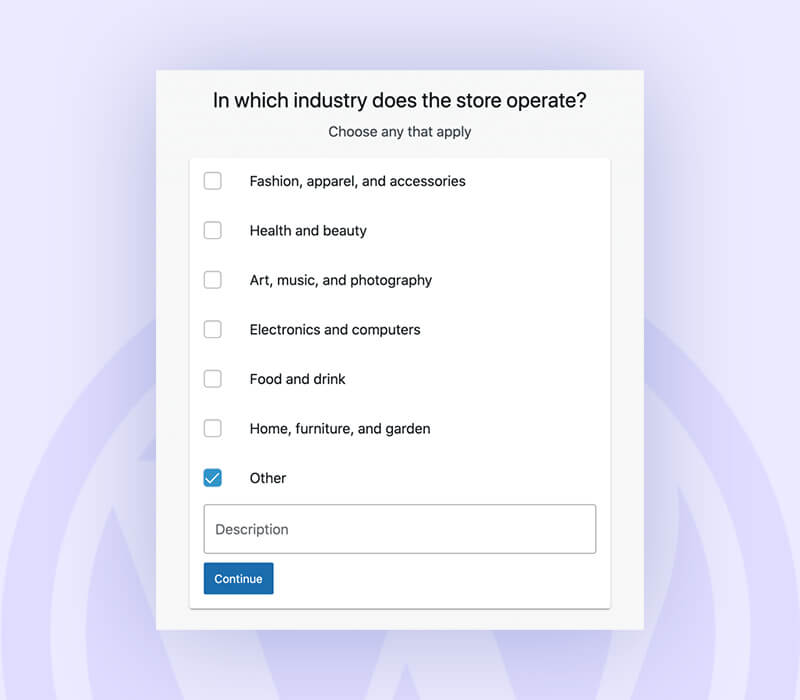
- Select the industry in which your WooCommerce store operates.
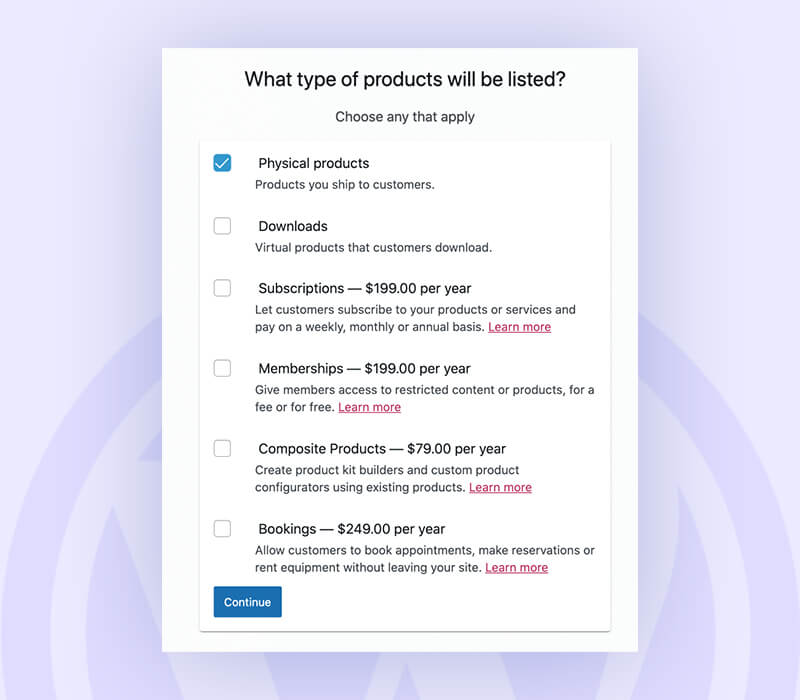
- Select the types of products in the Product Types.
- Include additional business information, such as the number of products you plan to display and whether you sell elsewhere.
- The next step is to select a theme. These may come from either paid or free themes, but don’t worry—you may replace them later.
- You’ll be taken to your WooCommerce dashboard in the subsequent step. You may examine the Finish setup, Stats overview, Inbox, and other things here.
- You can click and complete the steps below in the Finish setup area: Add my merchandise, Customize my store, configure delivery, tax, and payments.
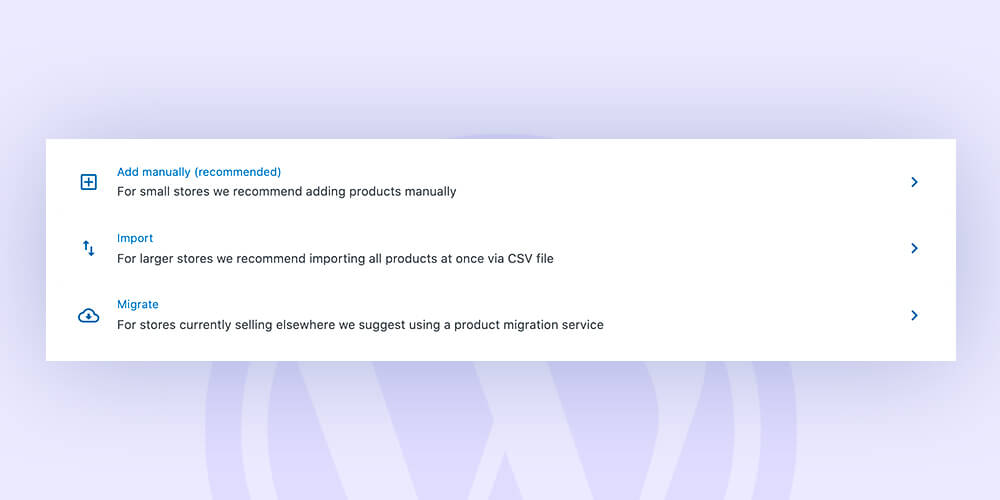
- To add your first product, choose to Add my items. You can manually add items, import CSV files with more data, or move your store from another place. Then adhere to the directions in the section below.
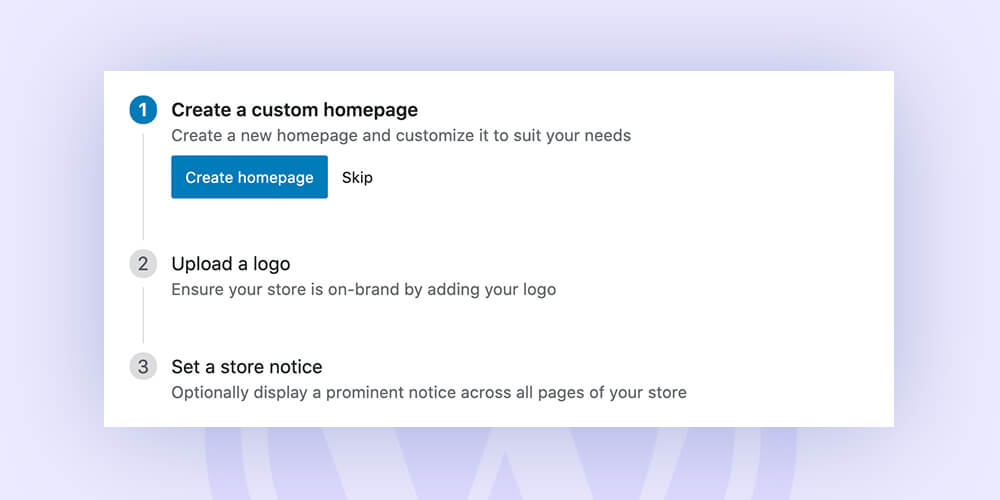
- Create a unique homepage for your store, add a logo, or customize a store notice’s settings to make it more distinctive.
- Setting up shipping is the next step. Here, you may modify the options that determine how much it costs for customers to ship to other countries in addition to your own.
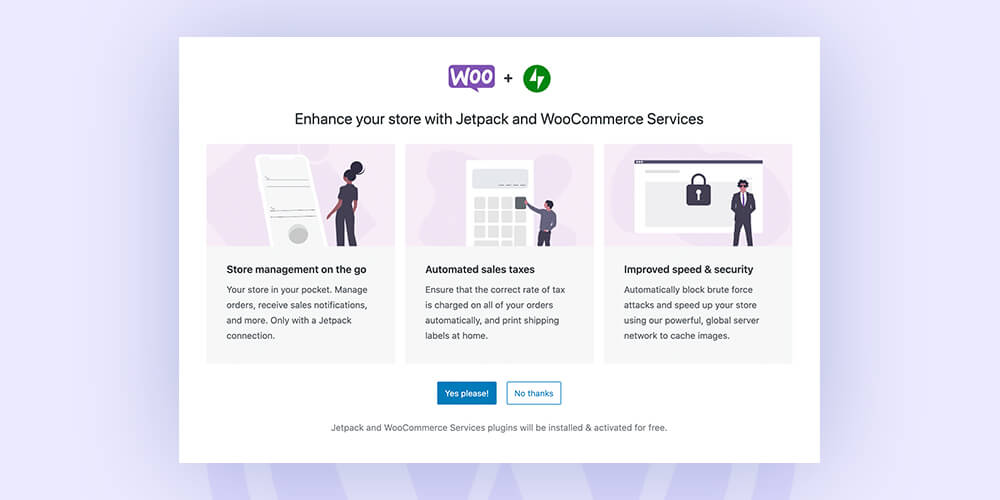
- Then, configure tax, either by connecting your store to WordPress for automatic sale tax calculation or by manually configuring tax rates.
- Set up payments. You can use credit cards, PayPal, direct bank transfers, and cash on delivery as payment methods (by Stripe.)
Adding New Products
Adding a new product to your WooCommerce is similar to adding a WordPress blog. Follow these steps:
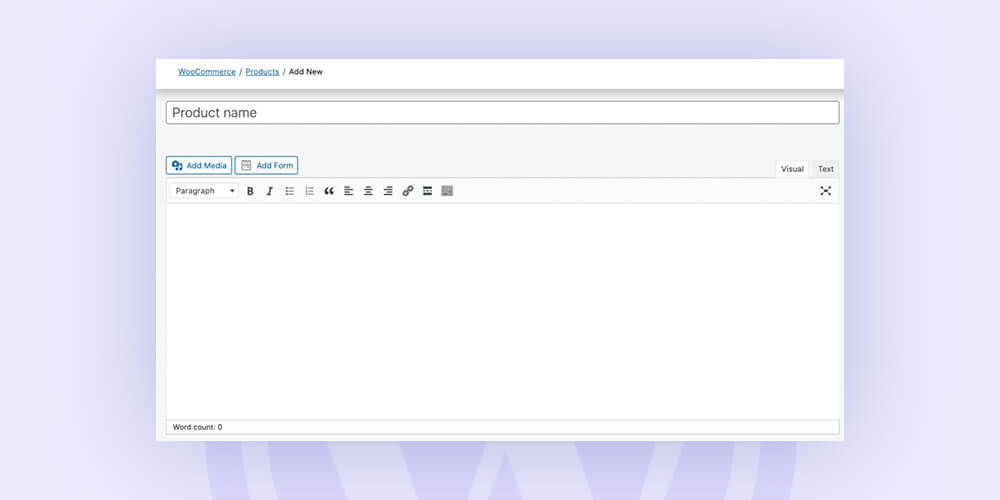
- Click on Products, which is listed under WooCommerce, to get going. After that, select Add New.
- Next, enter the name of your product and a thorough description that includes all pertinent details.
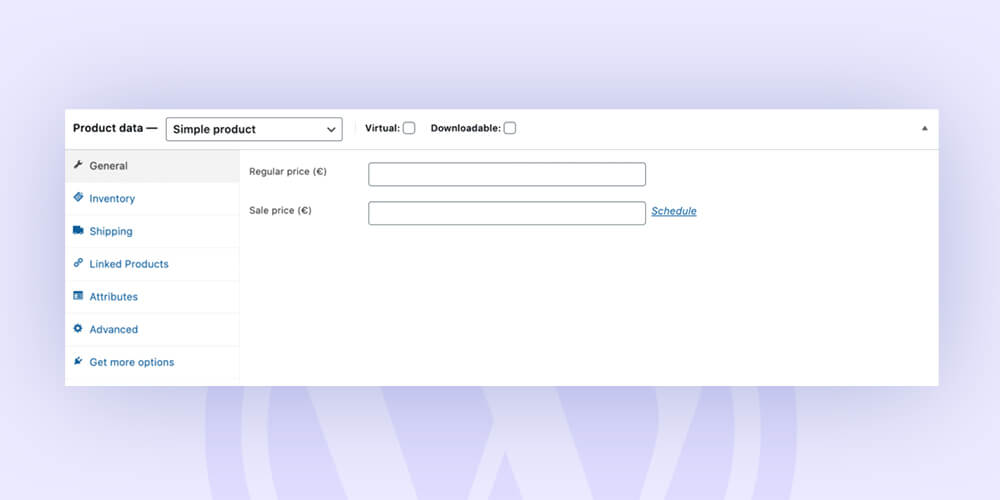
- Select the product type in the Product data section by scrolling down. Next, provide other details such as the price, quantity and inventory, delivery, related products, etc. If your products are non-physical and don’t require shipment, click the Virtual box. For products like software or files, choose the Downloadable box.
- Give your product a price after that, and provide a succinct description that will appear beneath the product name.
- Add the Product categories on the right side. Create a new category, or add it to an existing Parent category.
- You have the choice of labeling your products with product tags, which makes it simpler for customers to find them.
- You can upload or assign an image to your product in the Product image area.
- You may add more photographs to your product in the product gallery.
- When you are satisfied with the settings, click Publish or save the draft before checking the preview. Here, you can also select how visible you want your product to be. While private and password-protected options are also available, the public is the default. Take note of the settings for the Catalog visibility option, which are as follows:
- Search and shopping: Everywhere, including the shop pages, category pages, and search results, will show your products.
- Shop alone, or just the search results: The shop and category sites or the search results will display the products.
- Hidden: Products won’t be displayed on any other pages; only the specific product page will display them.
Adding Products.
Before you go ahead and start to add products to your store, here are some of the terms that you should know about:
- Product Category: This helps in organizing your products. For instance, if you offer clothing, your product categories might be top wear, bottom wear, and nightwear. They make it simple for the customer to find items belonging to the same category. You can make as many categories as possible and update them whenever possible.
- Attributes: To make it simple for customers to choose the things they want, the products are filtered by size, color, fabric, and personal preferences. Either create a global property for the entire website or assign attributes separately to each product.
- Product Types: WooCommerce’s preconfigured product types help customers save time:-
- Simple products: A product with no variation, such as size or color, is placed under the simple product category. Or a single product without any additional options.
- Variable products: These products have variations. The most common categories of variable products are shoes and clothes.
- Grouped products: Related products that are grouped together. E.g., a wine glass set.
- Virtual products: The products which don’t require shipping, like a marketing course.
- Downloadable products: Those digital products that a buyer can download. E.g., images, videos, eBooks, etc.
- External products: These products are advertised on your website but are sold on a different channel.
Managing Products.
You can pick multiple products to edit, preview, feature, and perform bulk actions on all of your products and manage them all.
Other things you can do with your product list are as follows:
- Duplicating a product: This tab comes in handy if you have similar products to sell. Find the Duplicate button under the existing product. This will create and open a new product daft for your to edit.
- Product as a feature for marketing: Choose the product, look for a Star icon, and click it. The product will be displayed on your homepage.
- Deleting a product: Simply click the Trash button under the product name.
Managing WooCommerce.
After learning how to manage products in WooCommerce, let’s talk about how to manage orders, coupons, reports, and other order store settings.
Order Management.
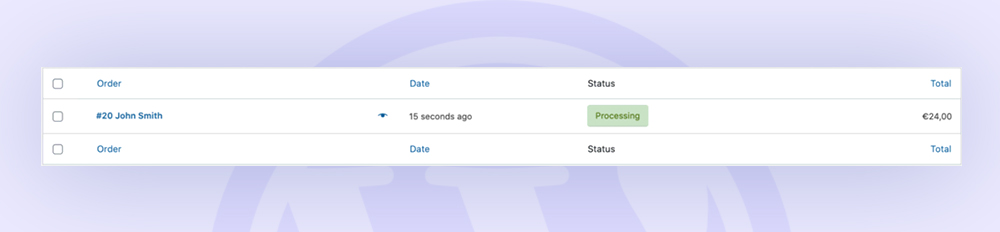
Every time your consumer successfully completes the checkout procedure, a new order is generated.
On the left-hand menu, select WooCommerce -> Orders to view them.
Every order has a distinct Order ID, purchase date, status, and cost.
Click the Order name to update or see a single order. You can simply view and adjust pricing, taxes, shipping, billing, email address, and more. Additionally, you can also modify the ordered items, update the order status, and issue refunds.
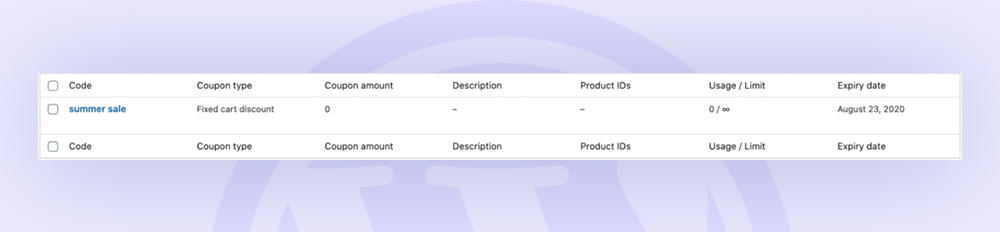
Managing WooCommerce Coupons.
Coupons are a fantastic tool for promoting and selling your products. In the Coupons section of WooCommerce, you can add, update, and browse coupons.
A new product can be created similarly to a new coupon. Select a name or create a coupon code first. Next, choose the type of discount, which can be fixed or percentage-based. Free shipping is an option as well. After that, select the expiration date and press Publish.
Simply click on the name of the coupon you want to update, then make the necessary modifications.
Managing Customers.
View all the details about your former clients in the Customers section. The data includes:
- Name Username Most Recent Active
- Initiation date
- Email number Number of orders
- Total expenditure
- Country/Region
This data is also available as a PDF download.
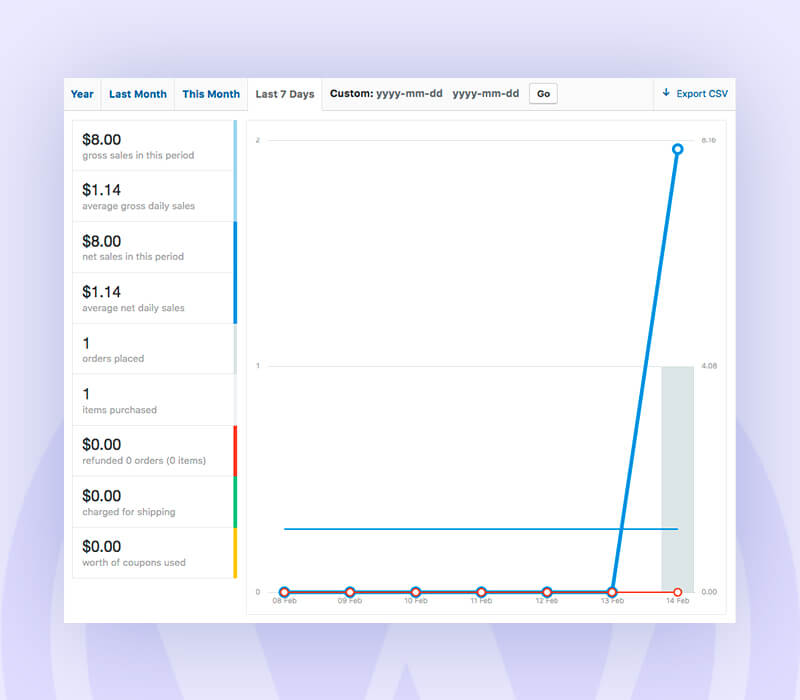
WooCommerce Store Report Management.
You may view your store’s analytics in the Reports section, including the number of products purchased, gross sales, average daily sales, product data, and other crucial statistics.
You may start creating statistics for various products, categories, or even coupons in this section. To do this, choose the time frame for which you want to make the report—the current month, the preceding seven days, or any other custom time frame—and click Go to get the report.
WooCommerce Settings.
You can modify your online store’s basic settings, including location, currency, and API settings, on the Settings page.
But before making any major adjustments, make sure to hover over the question mark next to each setting to read a brief description.
Let’s briefly review what can be altered in each tab.
- General: The general settings of your store, such as:-
- Location.
- Currency.
- Payment methods.
- Ability to enable or disable taxes.
- Displaying notices to every visitor.
- Free delivery and other options.
- Products: You can adjust several product options from different sections:
- General: Choose your measurement units, enable or deactivate reviews, and choose your shop’s home page.
- Inventory: alter the pre-set stock options, turn on or off stock management, enable email alerts, etc.
- Downloadable Products: If you sell products that can be downloaded, set up the file download options and access limitations.
- Tax: You can enable automatic tax management, include or remove tax from the pricing display, and more when entering prices here. Additionally, you can program new sites using a specific set of charges, including standard, discounted, and zero rates.
- Payments: Feel free to enable, disable, and manage each payment gateway offered on this tab.
- Shipping: Settings for free shipping, pricing, shipping zones, and other shipping options can all be included. Even better, you may establish different shipping costs for various areas.
- Accounts & Privacy: Under this tab, you get to give various access to the shopper. E.g., allowing them to checkout as guests, creating an account during the checkout process, etc.; you can also set the privacy policy message that will appear during the registration process.
- Emails: You can customize the settings you send to customers. Additionally, you can alter email information and email templates.
- Integrations: You can use this to connect your store to Facebook and take advantage of services like Messenger integration, displaying your Facebook advertising to potential customers, installing tracking pixels, etc.
- Advance: You can change the settings on preset pages, require SSL on checkout pages, enable or disable the WooCommerce API, grant access to external apps, and manage their rights by using this tab. This section also allows for the configuration of webhooks.
Extensions and Integrations.
Extensions extend the functionality of your store, and integrations integrate it with different channels. WooCommerce’s integrations and extensions are what makes it so versatile and flexible.
Like WordPress plugins, you can add these from the WooCommerce Extension shop.
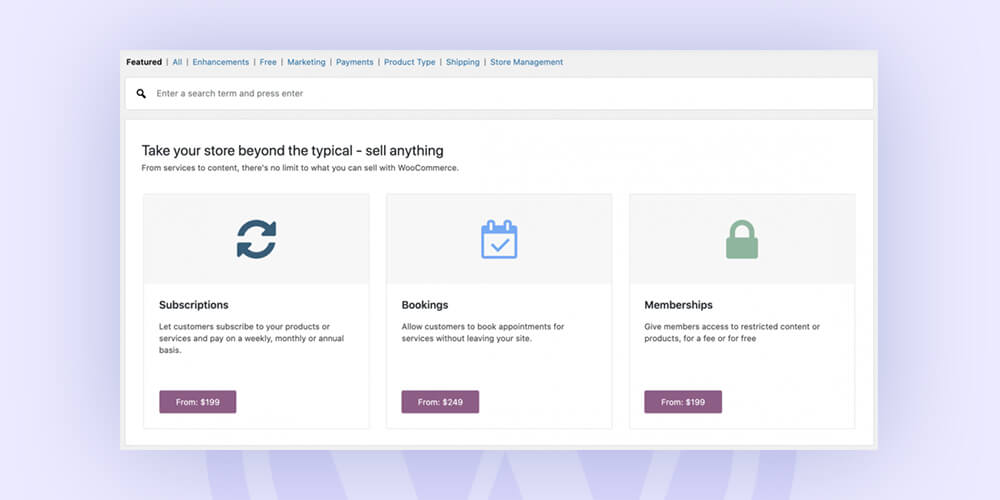
From improving your store’s functionality to providing additional shipping options or payment gateways, you can easily sync your store with these extensions (both paid & free).
How to customize your WooCommerce Store?
The default appearance of your WordPress WooCommerce store is typically not the greatest choice. Utilize the customization options to create a website that is suited to your requirements. If you are not creating a bespoke website to capture the audience, then you are not doing WordPress right.
By making adjustments to your website’s settings and adding WooCommerce extensions, you may further enhance the user experience. Many WooCommerce features, themes, and extensions are fortunately free, and you may find them on the WooCommerce homepage.
Changing the Theme.
You can improve your WooCommerce store, just like any other WordPress website, by setting up a new theme. There are many choices, whether you want to be elegant and simple or sharp and abstract.
Go to Appearance -> Themes in your admin area will allow you to install themes on WordPress easily. Next, press the Add New button to add a fresh theme.
Here are our suggestions for your store’s theme:
– Illy: A sleek, modern, minimalistic WordPress theme and a great place to start.
– Storefront: It is a collection of WordPress themes, with child theme variations for eCommerce websites.
– Market: Another multi-purpose WordPress theme that performs incredibly well with WooCommerce.
– Astra: A highly customizable theme that is suitable for any business.
– Make: With plenty of customization options, it is undoubtedly one of the most flexible free WordPress themes.
Check out the best themes according to experts here .
Install Extensions.
As already mentioned above, extensions and plugins can extend the functionality of your WooCommerce store.
So, how do you add them?
Go to Plugins -> Add New in the Admin panel of WordPress to add new plugins.
Some of the best extensions that you might consider installing are:
- WooCommerce currency switchers.
- PayPal.
- Stripe for WooCommerce.
- WooCommerce Multilingual.
- WooCommerce Product Finder.
- WooCommerce Menu Cart.
- YITH WooCommerce wishlist.
- Pushover.
- YITH Infinite Scrolling
- WooCommerce Gift Wrapper
… and more.
H2: How to participate in the WordPress community?
The WordPress community strongly advocates for open source, which means transparency and easy accessibility of the resources to all.
Yoast SEO, one of the most popular plugins in WordPress, can be found on WordPress Slack. Developers and designers from around the world can be communicated with at any point on Slack.
Equally, WordCamps are a community worldwide and regional conferences that address everything related to WordPress, including how to use WP more efficiently, creating plugins and themes, WordPress site security, and more. These are open to all, from developers to markets. So feel free to join in to participate.
Here is the schedule for upcoming WordCamps:
WordCamp Europe, 2023- 8-10 June in Athens, Greece.
WordCamp Asia, 2023- 17-19 February in Bangkok, Thailand.
WordCamp Central.
It’s perfect time to make some plans for the future and it is
time to be happy. I have read this post and if I could I wish to
counsel you some fascinating issues or suggestions. Maybe you could write next articles relating to this article.
I wish to read even more things about it!
We’re glad you enjoyed the post and are interested in more related content. We appreciate and welcome your feedback. Stay tuned for upcoming articles, and feel free to share any specific topics or questions you have in mind. Thanks for your support!
Engaging and informative; your blog offers something different and beneficial.
We’re thrilled to see you’ve found our blog informative. Be sure to stay tuned for more valuable resources in the future.